No-Knead Garlic Bread (Easy Homemade Recipe)
There’s something magical about the smell of freshly baked garlic bread filling your kitchen. Warm, buttery, garlicky, and perfectly crispy on the outside while soft and fluffy inside—garlic bread is one of those comforting recipes that everyone loves. The best part? You don’t need any complicated techniques or special equipment to make it at home.
This No-Knead Garlic Bread recipe is incredibly simple. As the name suggests, there’s no kneading required. You just mix the ingredients, let the dough rest, shape it, and bake. The slow resting time allows the dough to develop flavor and structure naturally, giving you bakery-style bread with minimal effort.
Whether you’re serving it with pasta, soup, or enjoying it as a snack, this homemade garlic bread will quickly become a favorite in your kitchen.
Why You’ll Love This No-Knead Garlic Bread
There are many reasons this recipe is loved by home bakers.
1. No kneading required
Traditional bread recipes require kneading to develop gluten. This recipe skips that step entirely. The dough develops naturally as it rests.
2. Simple pantry ingredients
Everything you need is probably already in your kitchen: flour, yeast, garlic, butter, and water.
3. Incredible flavor
The garlic butter soaks into the bread, creating a rich and savory flavor in every bite.
4. Perfect texture
You get a crispy golden crust and a soft fluffy interior.
5. Beginner friendly
Even if you’ve never baked bread before, this recipe is easy to follow and almost impossible to mess up.
Ingredients
This recipe uses simple ingredients that create amazing flavor.
For the Dough
-
3 cups all-purpose flour
-
1 teaspoon salt
-
1 teaspoon sugar
-
1 teaspoon instant yeast
-
1¼ cups warm water
For the Garlic Butter
-
4 tablespoons butter, softened
-
4 garlic cloves, minced
-
1 tablespoon chopped parsley (optional)
-
¼ teaspoon salt
-
2 tablespoons grated parmesan cheese (optional)
How to Make No-Knead Garlic Bread
Follow these easy steps to make soft and flavorful garlic bread at home.
Step 1: Mix the Dough
In a large mixing bowl, combine the flour, salt, sugar, and instant yeast. Stir everything together so the ingredients are evenly distributed.
Next, pour in the warm water. Using a wooden spoon or spatula, mix the dough until everything comes together. The dough will look sticky and shaggy, which is completely normal for no-knead bread.
There’s no need to knead the dough. Just mix until all the flour is incorporated.
Step 2: First Rise
Cover the bowl with plastic wrap or a clean kitchen towel. Let the dough rest at room temperature for 1 to 2 hours.
During this time, the yeast will activate and cause the dough to rise. The dough should roughly double in size and develop small air bubbles on the surface.
This resting period replaces the kneading process and helps create a light, airy bread texture.
Step 3: Shape the Dough
Lightly flour your work surface and gently transfer the dough from the bowl.
Because this dough is soft and sticky, dust a little flour on top if necessary. Shape the dough into a round loaf or oval shape.
Avoid over-handling the dough, as this can remove the air bubbles that help create a soft texture.
Place the shaped dough onto a parchment-lined baking sheet.
Step 4: Second Rise
Cover the shaped dough loosely with a towel and allow it to rest for about 30 minutes.
This second rise helps the bread become even softer and lighter.
Meanwhile, preheat your oven to 400°F (200°C).
Step 5: Prepare the Garlic Butter
While the dough is resting, prepare the garlic butter.
In a small bowl, mix together:
-
softened butter
-
minced garlic
-
chopped parsley
-
salt
Stir everything until it becomes a smooth and fragrant mixture.
The garlic butter is what gives this bread its rich and irresistible flavor.
Step 6: Score the Bread
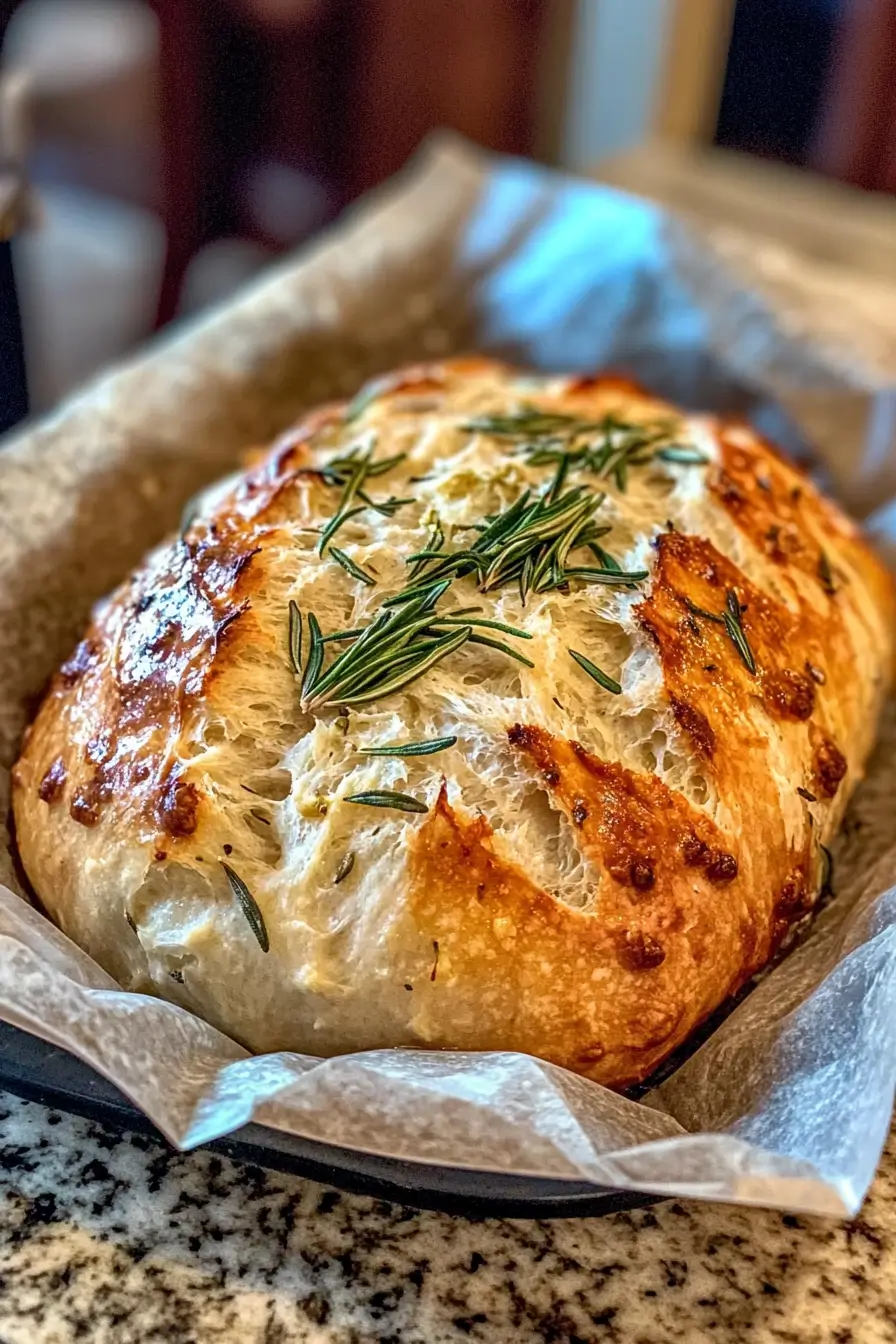
Using a sharp knife, make 3 to 4 diagonal cuts across the top of the dough. These cuts allow the bread to expand properly during baking.
Spread the prepared garlic butter generously over the top of the dough, making sure some of it goes into the cuts.
If you like cheesy garlic bread, sprinkle parmesan cheese on top.
Step 7: Bake the Bread
Place the baking sheet in the preheated oven and bake for 25 to 30 minutes.
The bread should become golden brown and crispy on the outside.
You’ll know the bread is ready when the crust is firm and the bottom sounds hollow when tapped.
Step 8: Cool and Serve
Allow the bread to cool for about 10 minutes before slicing.
This short resting time helps the interior set properly.
Slice the bread and serve warm. The inside will be soft, fluffy, and full of garlicky goodness.
Serving Suggestions
No-Knead Garlic Bread pairs beautifully with many meals.
Here are some delicious ways to enjoy it:
With pasta
Serve alongside spaghetti, lasagna, or fettuccine Alfredo.
With soup
Perfect for dipping into tomato soup, creamy mushroom soup, or chicken soup.
As an appetizer
Slice it and serve with marinara or olive oil.
With salads
Garlic bread adds a hearty side to fresh green salads.
Tips for Perfect Garlic Bread
Follow these tips to get the best results every time.
Use fresh garlic
Fresh minced garlic provides stronger flavor than garlic powder.
Don’t add too much flour
The dough should remain slightly sticky. Too much flour can make the bread dense.
Let the dough rest fully
The resting time helps develop gluten naturally.
Use room-temperature butter
Soft butter spreads more easily and mixes better with garlic.
Add extra garlic butter after baking
Brushing the bread with melted garlic butter right after baking adds extra flavor.
Delicious Variations
Once you master the basic recipe, you can experiment with different flavors.
Cheesy Garlic Bread
Add shredded mozzarella or cheddar cheese on top before baking.
The melted cheese creates a rich and gooey topping.
Herb Garlic Bread
Mix additional herbs into the butter, such as:
-
oregano
-
basil
-
rosemary
-
thyme
This adds a more aromatic flavor to the bread.
Spicy Garlic Bread
If you enjoy spicy food, add ½ teaspoon chili flakes to the garlic butter.
This gives the bread a nice kick.
Roasted Garlic Bread
Instead of raw garlic, use roasted garlic for a sweeter and milder flavor.
Simply roast whole garlic cloves in the oven before mixing them into the butter.
Storage and Reheating
If you have leftover garlic bread, store it properly so it stays fresh.
Room Temperature
Store in an airtight container for up to 2 days.
Refrigerator
Keep it in the fridge for 4 to 5 days.
Freezer
Wrap the bread tightly in foil and freeze for up to 2 months.
How to Reheat Garlic Bread
To restore its crispy texture, reheat the bread in the oven.
-
Preheat oven to 350°F (180°C)
-
Wrap the bread loosely in foil
-
Heat for 5–10 minutes
You can also toast slices in a skillet with a little butter.
Frequently Asked Questions
Why is my no-knead bread dense?
This usually happens if the dough didn’t rise long enough or too much flour was added. Make sure the dough doubles in size before shaping.
Can I make this recipe with whole wheat flour?
Yes, but replace only half of the flour with whole wheat flour. Using 100% whole wheat may make the bread too dense.
Can I prepare the dough overnight?
Yes! You can let the dough rest in the refrigerator overnight. This actually improves the flavor and texture.
Can I use active dry yeast instead of instant yeast?
Yes, but dissolve the yeast in warm water first and let it activate for 5–10 minutes before mixing with the flour.
Final Thoughts
This No-Knead Garlic Bread recipe proves that homemade bread doesn’t have to be complicated. With just a handful of simple ingredients and minimal effort, you can create a loaf that tastes like it came straight from a bakery.
The crispy crust, soft interior, and rich garlic butter flavor make it the perfect side dish for almost any meal. Once you try this recipe, you may never go back to store-bought garlic bread again.